
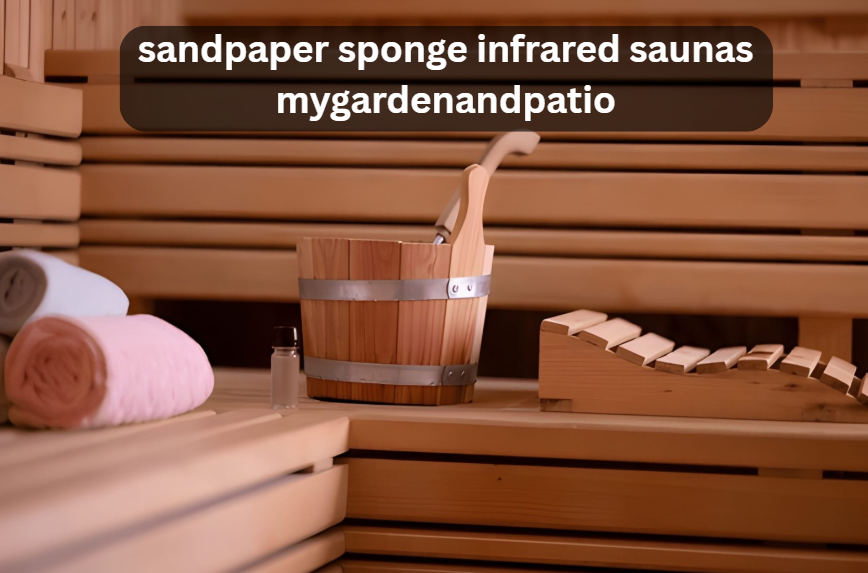
Infrared saunas offer a quiet, soothing way to enjoy heat therapy. To keep them lasting and looking good, you need reliable care methods. That’s where sandpaper sponge infrared saunas mygardenandpatio comes in. In this article you’ll get practical advice for cleaning, preserving wood, choosing sanding tools, and maintaining your sauna overall.
You’ll learn when to use a sandpaper sponge, how often to sand vs clean, what treatments are safe, and how to avoid damage. You’ll also see real examples and unique tips that come from hands-on experience. The guidance draws from robert mygardenandpatio approach and the care philosophy at mygardenandpatio com. By the end, you’ll feel confident caring for your infrared sauna in a way that keeps it beautiful, safe, and functional for years.

Why Combine Sandpaper Sponge and Infrared Sauna Care
In the care of sandpaper sponge infrared saunas mygardenandpatio, this gentle touch matters. Using a sandpaper sponge during sauna upkeep is more than just surface work. It allows you to clean off light stains, polish dull patches, and restore the wood’s soft texture without overdoing it. Instead of grinding away layers, it quietly renews the look and feel of the sauna. When paired with careful cleaning and good ventilation, this small step keeps your infrared sauna fresh, smooth, and ready to use year after year.
Infrared saunas often collect sweat, oil, and a thin layer of dust because of the dry heat inside. Over time, that buildup can dull the wood’s natural look. Robert MyGardenAndPatio recommends light sanding with a sponge to keep the surface clean and even while letting the wood breathe. It’s a simple upkeep step that keeps the sauna looking fresh and lasting longer.
Understanding Infrared Sauna Wood
Common woods include cedar, hemlock, spruce, or aspen. These species are chosen because they resist warping, handle heat, and stay stable.
Wood in saunas faces heat cycles, moisture from sweat, and occasional cleaning. Over years, surfaces can darken, roughen, or stain. That’s why caring for wood matters. MyGardenAndPatio Robert advises choosing the right wood type and handling tools carefully to avoid damaging the surface.
Understanding how the wood responds helps you choose when to sand or just clean. Some woods take 220-grit sanding better; others tolerate 150 better. Knowing your material helps in actual maintenance.

Cleaning First: Always Before Sanding
Before any sanding, the sauna must be clean. After each session, wipe benches, walls, and backrests with a damp microfiber cloth. This removes sweat residues. Many sources suggest baking soda in water for deeper cleaning (1 tbsp per gallon) as a mild scrub solution.
Weekly or biweekly, do a stronger wipe with the cleaning solution, targeting corners, seams, under benches, and glass surfaces if present. Vacuum debris or loose dust before sanding. This layer prevents scratching deeper wood.

When & How to Use a Sandpaper Sponge
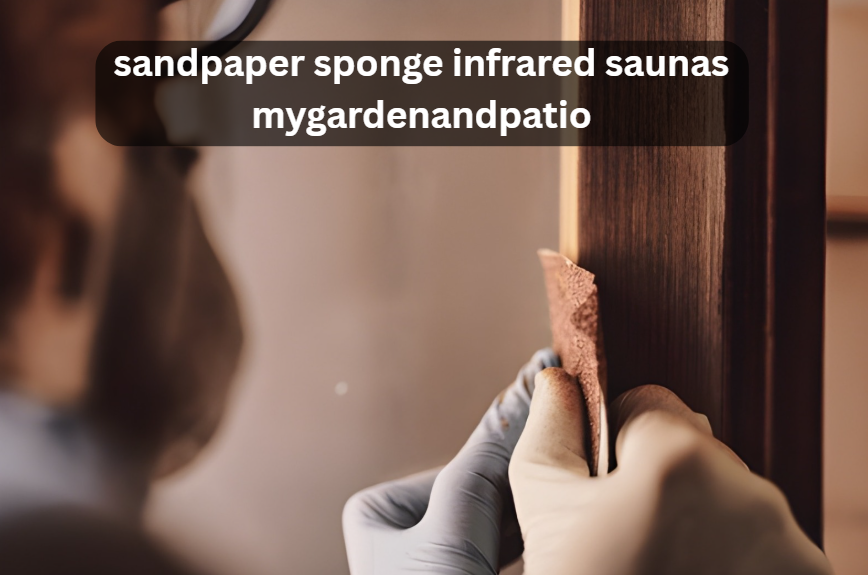
Use a sandpaper sponge only when you notice dark patches, sweat marks, or areas that don’t come clean even after wiping. This kind of light sanding refreshes the surface without taking off too much material, helping your sauna stay smooth and well-kept.
That’s your cue to sand lightly. Use a soft grit (150 to 220) sandpaper sponge. Harvia’s sauna care recommendations mention using sandpaper when benches have stubborn stains.
Always sand with the grain, not across it. Use light pressure. Move slowly and evenly. Avoid focusing on one spot too long. If you see fresh wood, stop—go slowly. Keep the wood cool while you work.
When done, use a vacuum or tack cloth to remove all dust. A second wipe may help before finishing steps.
Post-Sanding Care & Finishing
Once dust is removed, let the wood rest and air dry. Don’t rush to use it.
You may apply a thin coat of natural oil (food-grade paraffin oil is popular) to benches and slats. Use sparingly and test in a hidden section first. Harvia suggests paraffin oil to protect wood surfaces and accentuate grain.
Never use varnishes, stains, or sealants on the interior wood—these block the wood’s natural ability to breathe and can cause damage under heat.
After treatment, you may run the sauna at a moderate temperature for a short time to help the wood absorb and to dry any residual moisture.

Avoiding Mistakes & Over-Sanding
Aggressive sanding changes wood thickness, texture, and shape. You risk creating gouges or altering the flush surface. Don’t oversand in efforts to “restore.”
Using the wrong grit—too coarse—can leave scratch lines. Too fine may not remove stains. Choose carefully based on need.
Applying varnish or non-sauna sealants are common mistakes. These substances trap heat, cause odors, and damage sauna wood over time.
Seasonal Maintenance Strategy
Every year, inspect corners, joints, the bottoms of benches, and underside planks. These spots often collect moisture or mildew.
Monthly, dust, vacuum, wipe surfaces, and open ventilation to let the space breathe after sessions. Keep the door or vent open.
If your climate has high humidity or temperature fluctuations, consider adding a small dehumidifier or heater mode to dry the air between uses. Some sauna builders warn that sealants on interior wood reduce wood breathability, so avoid them.

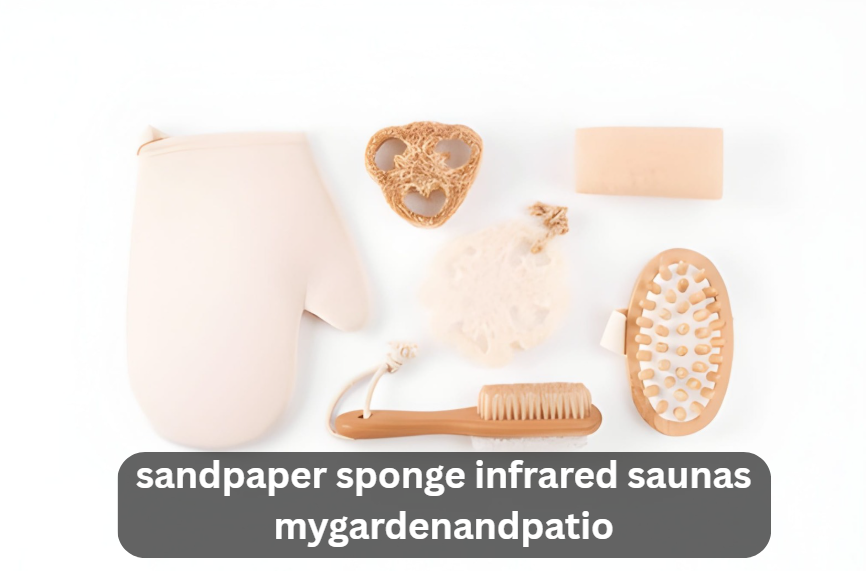
Tools & Materials Guide
Look for soft-grit sanding sponges (~150 grit) for sauna wood. Sunlighten’s advice includes using sanding sponges specifically for residue.
Use microfiber cloths, soft brushes, or vacuum attachments for cleaning. A gentle vacuum helps remove dust post-sanded.
Oils used should be safe under heat. Paraffin or food-grade oils are best choices.
Have a small hand brush for seam edges and cracks. No wire brushes or metal tools; these damage wood.
Case Examples & Lessons
One user removed stubborn sweat stains by lightly sanding with a sponge, wiping clean, and treating the area. The bench reopened nearly matching surrounding wood.
In another case, a sauna interior had rough benches after many years. They resanded and applied gentle oil. Appearance improved significantly while preserving wood strength.
A mistake example: someone varnished the interior. After heated sessions it peeled, cracked, and caused off-gassing. They had to strip it entirely and revert to plain wood.

Long Term Care & Lifespan
Depending on usage, resand benches every 1–3 years. Heavily used saunas may need more frequent attention.
Always retain original thickness. If benches wear too thin, replacement or reinforcement is safer.
Watch for signs: blotchy wood, deep stains, wood that no longer beads moisture. Those are signals that refinish is needed.
Your goal is to maintain a consistent surface—sanding just enough to restore, never overworking.
Final Thoughts and Care Routine
The idea behind sandpaper sponge infrared saunas mygardenandpatio is simple. It’s about caring for the wood the right way—cleaning when needed, sanding only when it truly helps, and keeping the material in its natural state. You’re not trying to cover flaws but helping the wood stay strong and look good over time.
After each session, wipe everything down to remove sweat or dust. Give your sauna a good, thorough cleaning once a week to keep it fresh and in good shape. Every month, vacuum corners and edges where dirt settles. Once a year, use a sandpaper sponge gently on any rough or stained spots, then apply a light oil treatment if needed.
Treat the wood with care. Avoid harsh sealants or coatings, keep the sauna well-aired, and always use a soft touch when sanding. Follow this simple rhythm and your infrared sauna will stay inviting, clean, and long-lasting for years to come.