
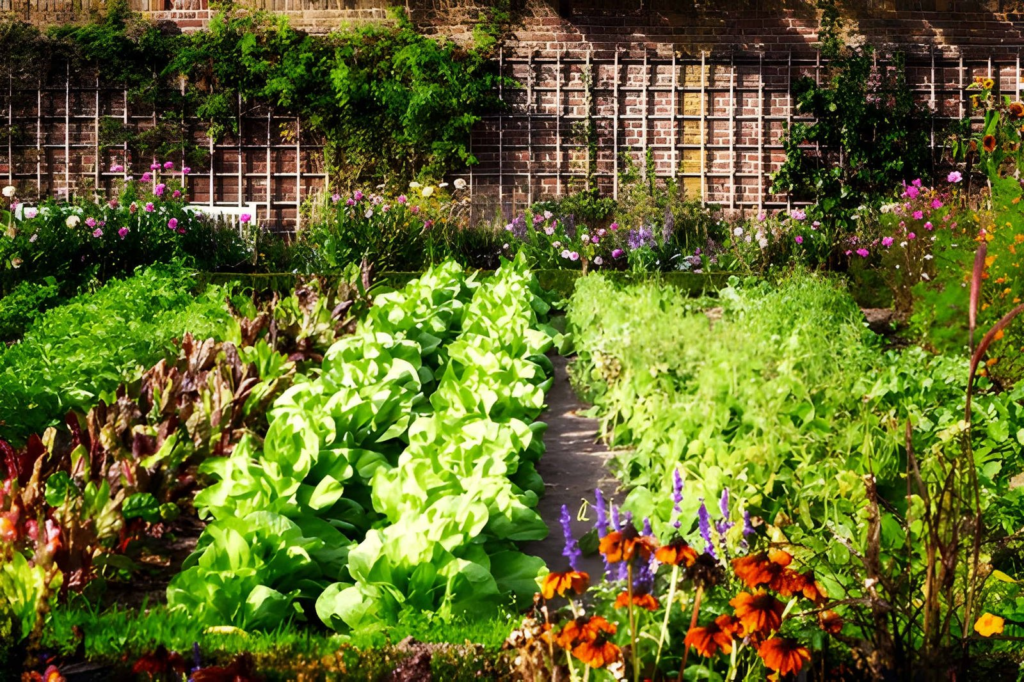
As the growing season winds down, the work you do in October and November determines how healthy your soil, tools, and beds will be when spring planting arrives. Winterizing a vegetable garden isn’t complicated, but it does reward a methodical approach. This fall checklist walks you through every step — from clearing spent crops to protecting perennials — so your garden rests well and wakes up ready.
Why Fall Garden Prep Matters
Skipping fall cleanup is one of the most common mistakes home gardeners make. Dead plant material left in beds over winter becomes a hiding place for pests like squash bugs and cucumber beetles, and it allows fungal diseases such as powdery mildew and blight to overwinter in the soil. A few weekends of effort now can dramatically reduce pest pressure and disease problems next year — and it saves you from facing a soggy, tangled mess in March.
Step 1: Remove Spent Plants and Debris
Start by pulling out annual vegetables that have finished producing — tomatoes, peppers, squash, beans, and cucumbers. Healthy plant material can go into your compost pile, but anything showing signs of disease should go in the trash or municipal green waste instead. Composting diseased plants risks spreading pathogens right back into your beds next season.
While you’re at it, collect fallen fruit, rotting produce, and old plant supports. Rake out leaves that have blown into beds if they’re matted and wet, since thick mats can smother soil life.
Step 2: Harvest and Cure Remaining Crops
Before the first hard frost, bring in everything that’s left. Green tomatoes can ripen indoors on a windowsill or wrapped in newspaper. Winter squash and pumpkins should cure in a warm, dry spot for 10 to 14 days before storage. Root crops like carrots, beets, and parsnips can stay in the ground under a thick layer of straw mulch in many climates — the cold actually sweetens them.
Step 3: Test and Amend Your Soil
Fall is the ideal time for a soil test because amendments have all winter to break down and integrate.
Check your pH and nutrient levels, then add what’s needed:
- Compost: Spread 1 to 2 inches over beds to feed soil microbes and improve structure.
- Lime: If your soil is too acidic, fall applications give lime time to adjust pH before spring.
- Aged manure: Applying it now allows it to mellow, avoiding the nitrogen burn fresh manure can cause.
Avoid tilling deeply. Light incorporation or simply layering amendments on top preserves soil structure and protects earthworms and beneficial fungi.
Step 4: Plant Cover Crops or Mulch Bare Soil
Bare soil erodes, compacts, and loses nutrients over winter. You have two good options:
Cover crops like winter rye, crimson clover, or hairy vetch protect soil, suppress weeds, and add organic matter when turned under in spring. Legume cover crops even fix nitrogen for next year’s heavy feeders.
Mulch is the simpler route. A 3- to 4-inch layer of shredded leaves, straw, or wood chips insulates soil, prevents erosion, and breaks down into valuable organic matter.
Step 5: Protect Perennial Vegetables and Herbs
Asparagus, rhubarb, strawberries, and hardy herbs need a little help heading into winter. Cut asparagus ferns down after they yellow, then mulch the crowns. Strawberries appreciate a straw blanket once the ground begins to freeze. Tender perennial herbs like rosemary may need to come indoors in colder zones — this is where container growing pays off, since portable planters for your garden let you move frost-sensitive plants to a protected porch or garage before temperatures plummet.
Step 6: Clean and Store Tools, Stakes, and Irrigation
Drain and store hoses, blow out drip irrigation lines, and shut off outdoor spigots before a hard freeze. Wash soil off tools, sharpen blades, and wipe metal surfaces with oil to prevent rust. Disinfect tomato cages and stakes with a 10% bleach solution so they don’t carry disease into next season. Store everything dry and out of the weather.
Step 7: Take Notes for Next Season
Before the details fade, jot down what worked and what didn’t. Which varieties produced best? Where did pests show up? Which beds need rotation? A ten-minute garden journal entry in November is worth an hour of guessing in April.
Quick Fall Winterizing Checklist
- Pull spent annuals; trash diseased material
- Harvest and cure remaining crops
- Test soil and apply amendments
- Sow cover crops or mulch bare beds
- Mulch and protect perennials
- Move tender container plants to shelter
- Drain irrigation and winterize tools
- Record notes for spring planning
Winterizing your vegetable garden is really about setting up spring success. Clean beds mean fewer pests, amended soil means stronger seedlings, and protected perennials mean earlier harvests. Work through this checklist before the ground freezes, and your garden will reward you when the season turns.
Read more at https://robertmygardenandpatio.com/www-mygardenandpatio-com/